Post by 1dave on Aug 27, 2020 5:31:33 GMT -7
Fabrication covers a lot of territory. It is a small part of Silversmithing.
Here is a starting directory:
Buying Gold & Silver
1. Books.
2. a Workbench
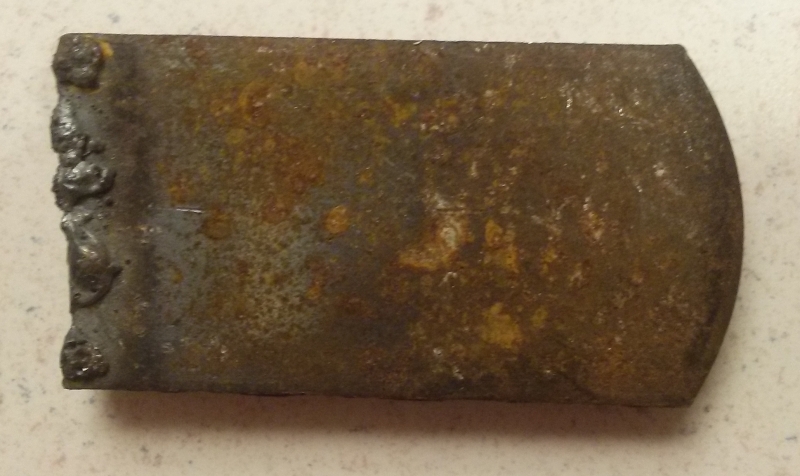
3. Refining Silver
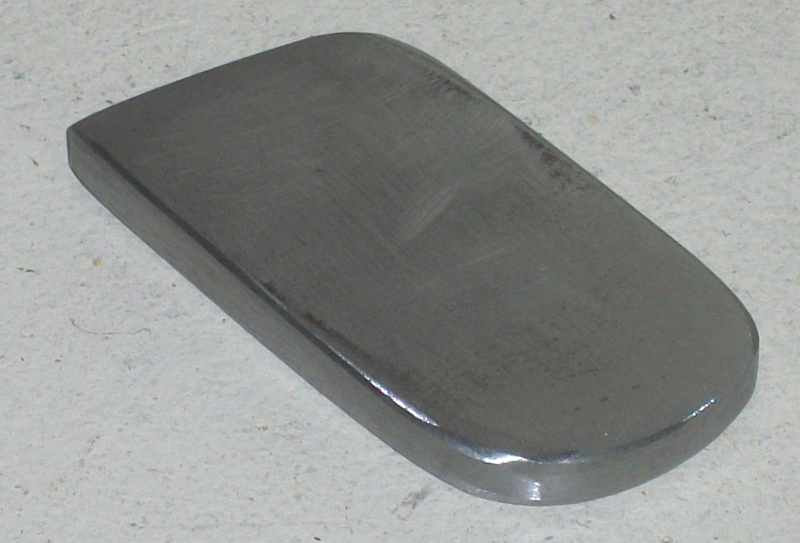
4. Making Plate Why buy it when you can make it from your scrap?
5. Wire Art
6. Wire wrapping
7. Precious Metal Clay
8. Casting
9. Tools
10.Anvils
11. Etching
12. Electroplating
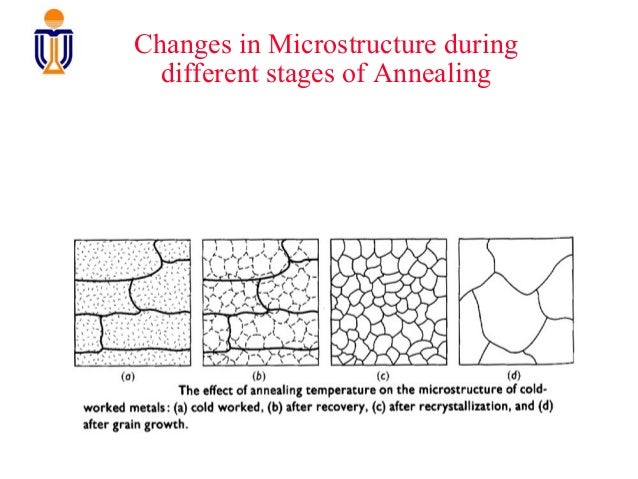
Annealing
Blue Fuse
Polishing
Edinburgh Etching
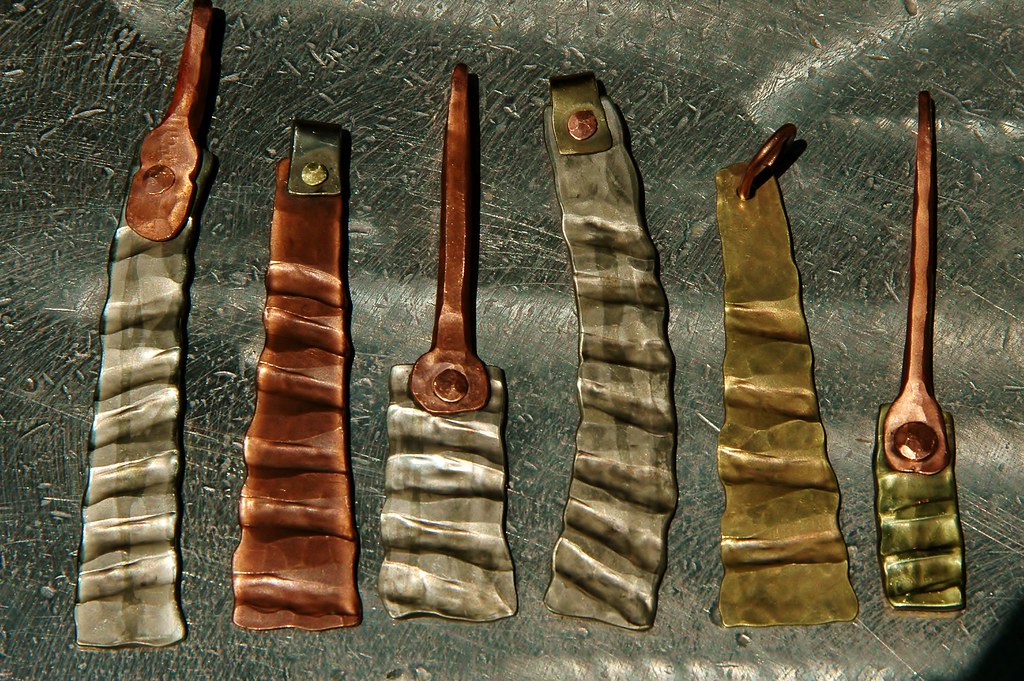
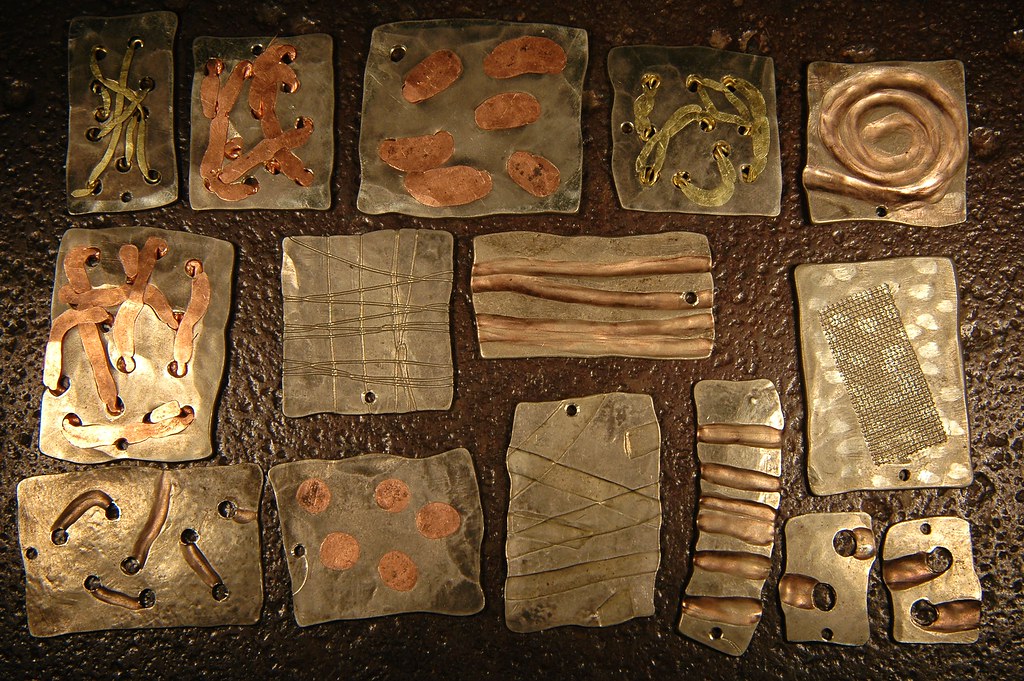
Texturing Metal
Repousse
Mokume
Jump Rings
Ring Shanks
Heat
Adrian's Cane
Adrian's Meteorite Knife
Cab Pendant Tutorial
Tutorial Turquoise and sapphires Pendant
Economics-Studies-Demand-Styles
Converting Lead into Gold!
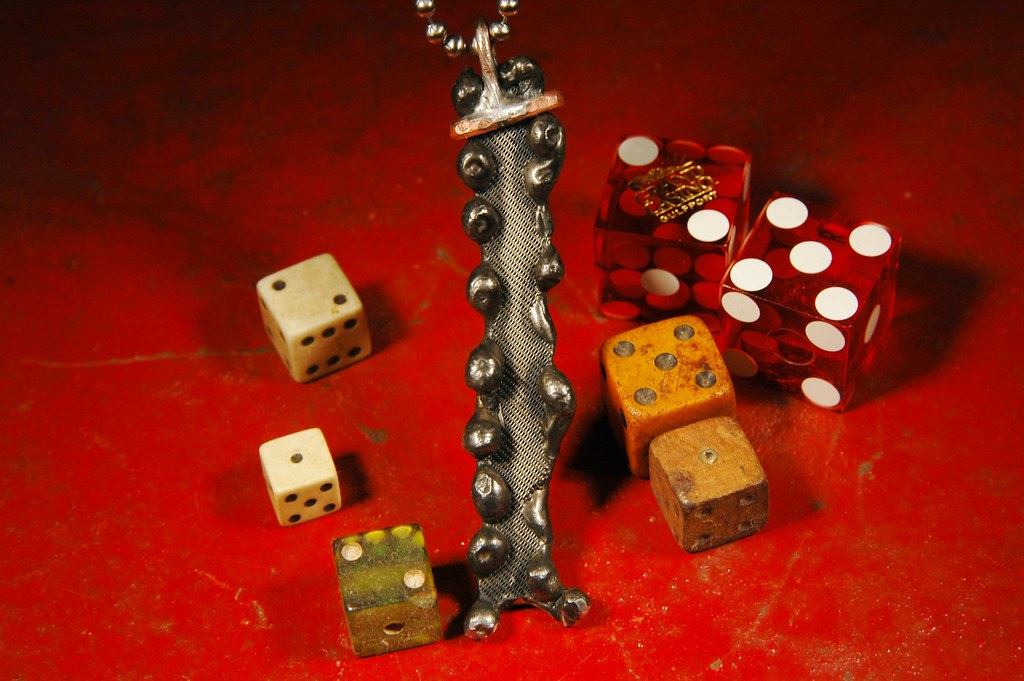
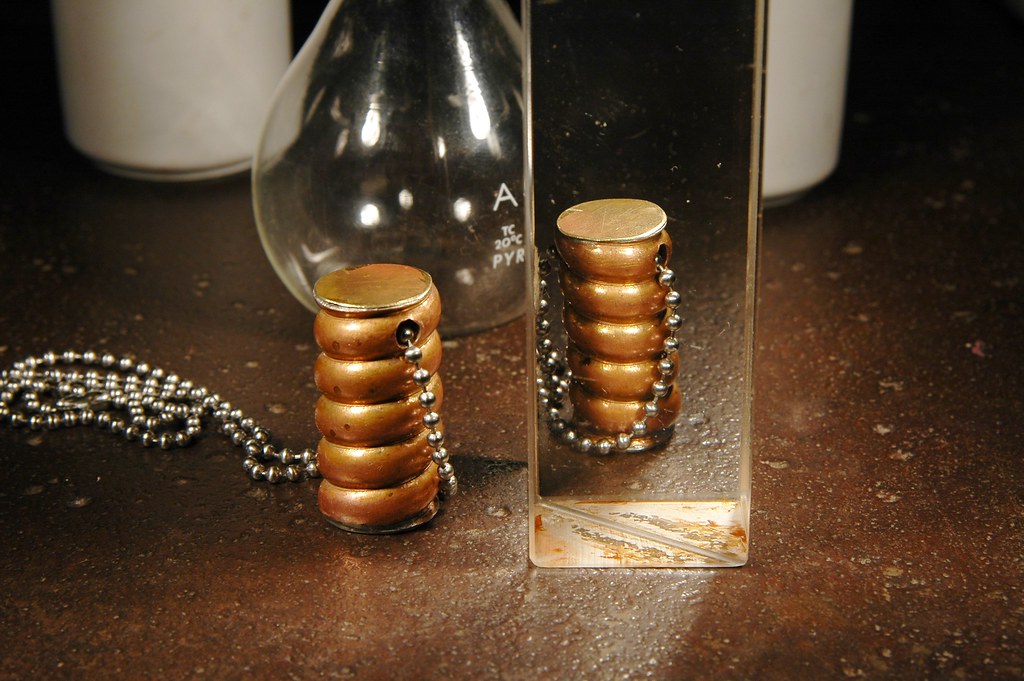
I've posted these images before, but this is all fabrication work:
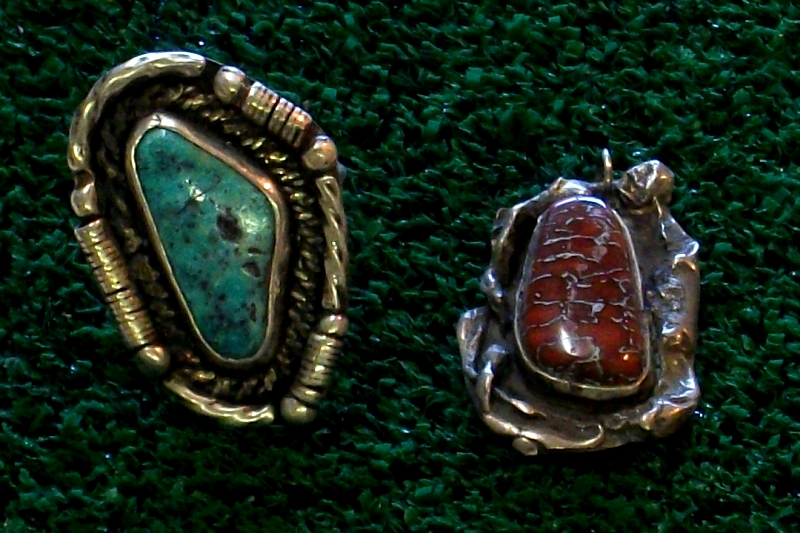
The turquoise ring started with the bezel, surrounded by twisted wire, then twisted square wire, fine silver wire twisted around a small finish nail, and scrap silver melted into spheres then filed flat on the bottom.
The dino bone pendant was surrounded by scrap silver heated just to the melting point.
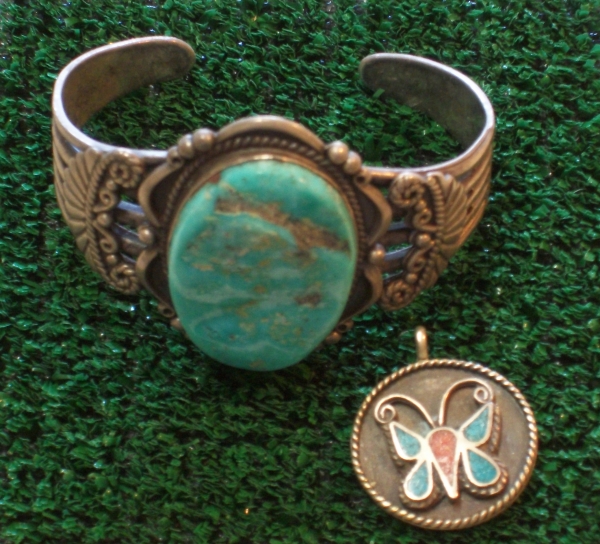
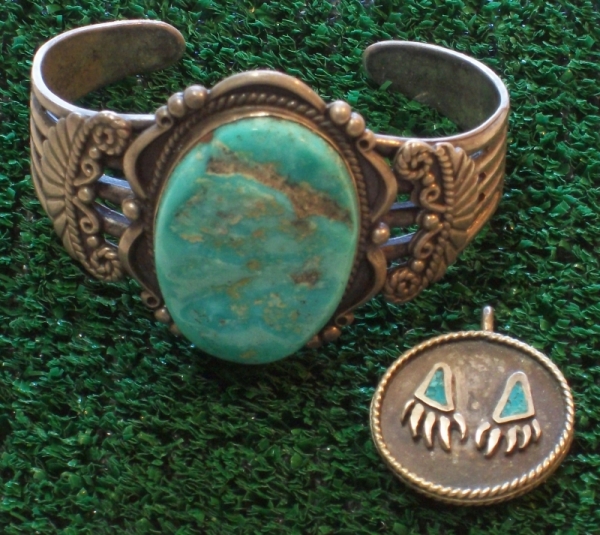
I also found some Navajo jewelry made by the craftsmen I bought a lot of scrap silver from in Provo Utah.
The second photo shows the back side of the pendant. I had totally forgotten these fantastic pieces!
Many years ago I watched Don Black make jewelry for the tourists and rockhounds as they watched at the Spencer Precious Opal Mine shop in Spencer Idaho.
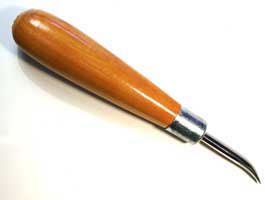
I was amazed at how few (and large) tools he used to make masterpieces.
About all he ever used was scrap sterling silver, a big pair of tin snips, a huge file, a hammer, chisel, a few punches, a ring mandrel, a chunk of wood, a torch, a burnisher, and a quick mind!
He would take their stones, fit a bezel to it, place it on some sheet silver, hammer a few patterns into scrap silver he had just snipped from a previous project and place it around the bezel, remove the stone, solder everything together, perhaps solder a ring shank or whatever on the back, quench it in "pickle," polish it up, set the stone with the burnisher, and make the sale in about 5 minutes! Then on to the next customer. He was amazing!
ADMIN EDIT - repaired broken images, original code below
Here is a starting directory:
Buying Gold & Silver
1. Books.
2. a Workbench
3. Refining Silver
4. Making Plate Why buy it when you can make it from your scrap?
5. Wire Art
6. Wire wrapping
7. Precious Metal Clay
8. Casting
9. Tools
10.Anvils
11. Etching
12. Electroplating
Annealing
Blue Fuse
Polishing
Edinburgh Etching
Texturing Metal
Repousse
Mokume
Jump Rings
Ring Shanks
Heat
Adrian's Cane
Adrian's Meteorite Knife
Cab Pendant Tutorial
Tutorial Turquoise and sapphires Pendant
Economics-Studies-Demand-Styles
Converting Lead into Gold!
I've posted these images before, but this is all fabrication work:
The turquoise ring started with the bezel, surrounded by twisted wire, then twisted square wire, fine silver wire twisted around a small finish nail, and scrap silver melted into spheres then filed flat on the bottom.
The dino bone pendant was surrounded by scrap silver heated just to the melting point.
I also found some Navajo jewelry made by the craftsmen I bought a lot of scrap silver from in Provo Utah.
The second photo shows the back side of the pendant. I had totally forgotten these fantastic pieces!
8 - Fabrication again is well covered by Sharr Choate's book on "Creative Gold and Silversmithing."
This will do for most projects:

This will do for most projects:
Many years ago I watched Don Black make jewelry for the tourists and rockhounds as they watched at the Spencer Precious Opal Mine shop in Spencer Idaho.
I was amazed at how few (and large) tools he used to make masterpieces.
About all he ever used was scrap sterling silver, a big pair of tin snips, a huge file, a hammer, chisel, a few punches, a ring mandrel, a chunk of wood, a torch, a burnisher, and a quick mind!
He would take their stones, fit a bezel to it, place it on some sheet silver, hammer a few patterns into scrap silver he had just snipped from a previous project and place it around the bezel, remove the stone, solder everything together, perhaps solder a ring shank or whatever on the back, quench it in "pickle," polish it up, set the stone with the burnisher, and make the sale in about 5 minutes! Then on to the next customer. He was amazing!
ADMIN EDIT - repaired broken images, original code below
[img alt="DavesJ" src="http://i1298.photobucket.com/albums/ag56/DaveCrosby/Metalsmithiing/2013-11-17-NovTools003b_zpsedba66dd.jpg" style="max-width:100%;"]
[img alt="Navajo-1" src="http://i1298.photobucket.com/albums/ag56/DaveCrosby/Metalsmithiing/2013-11-17-NovTools007m_zps6c8dd8a7.jpg" style="max-width:100%;"]
[img alt="Navajo-2" src="http://i1298.photobucket.com/albums/ag56/DaveCrosby/Metalsmithiing/2013-11-17-NovTools006m_zps3894a091.jpg" style="max-width:100%;"][/quote]
[img alt="SSTools" src="http://i1298.photobucket.com/albums/ag56/DaveCrosby/Metalsmithiing/01-SilverSmithTools-1_zpscb4838a4.jpg" style="max-width:100%;"][/quote]